Day At The Beach
La version française sera bientôt affichée.
The author of the tutorial, Robert Bates, writes:
"AKVIS ArtWork enables you to make paintings from photos. For this tutorial I chose to make an oil painting.
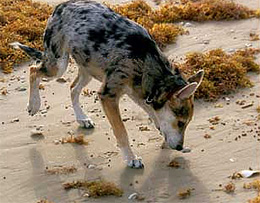
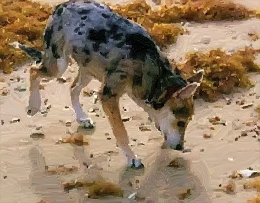
First, I opened a photo of a dog on the beach in AliveColors by clicking on File -> Open. Once the photo had loaded I selected the AKVIS ArtWork plug-in by clicking on Effects -> AKVIS -> ArtWork.
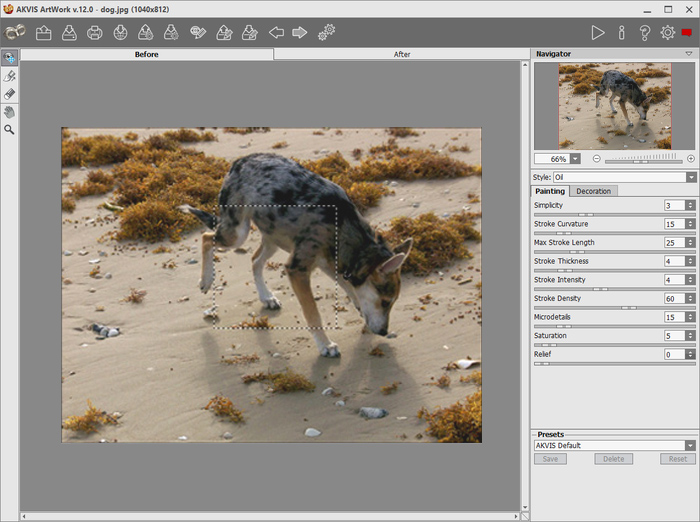
ArtWork Workspace
The window for the ArtWork plug-in opened and my photo was displayed with a preview square that showed how the photo would look with the default settings. It looked ok but there was too much detail. I wanted it to look like an actual oil painting, so I began to adjust the parameters.
The first I chose was Simplicity. This parameter affects the level of detail shown by the strokes in the image. The default level is 3 so I set it to 6. This reduced detail well, but actually a little too well. Still, I wanted it to look like an oil painting so I looked at other parameters. I changed the Stroke Curvature to 20, Stroke Thickness to 5, Stroke Intensity to 8, Stroke Density to 65, Microdetails to 20, and to add some vibrancy to the colors, I increased Saturation to 10.
I pressed the ![]() button to process the photo at these settings. A good result. I had reduced the level of detail with Simplicity, and then brought enough of it back with the other parameters, while maintaining the look of an oil painting. However, something was not quite right yet.
button to process the photo at these settings. A good result. I had reduced the level of detail with Simplicity, and then brought enough of it back with the other parameters, while maintaining the look of an oil painting. However, something was not quite right yet.
When I looked at the image I could see that the paint strokes were irregular. By increasing Simplicity I had removed the detail of the sand’s contours. How do we get those back? AKVIS ArtWork provides a solution. With the Stroke Direction tool ![]() , you can control the direction of paint strokes, as if you actually painted them yourself. In order to use it, go to the Before Tab and click on the pencil. This pencil is used to show ArtWork where you want paint strokes to go. Draw over the ripples in the sand with the pencil. Don’t use perfectly straight lines – try to follow the natural contours of the surface. You can check your work by selecting the tool
, you can control the direction of paint strokes, as if you actually painted them yourself. In order to use it, go to the Before Tab and click on the pencil. This pencil is used to show ArtWork where you want paint strokes to go. Draw over the ripples in the sand with the pencil. Don’t use perfectly straight lines – try to follow the natural contours of the surface. You can check your work by selecting the tool ![]() to bring up a preview box, then move it over the area where you drew strokes. If you are not satisfied you can select the tool and add more lines, or erase some with the Eraser tool
to bring up a preview box, then move it over the area where you drew strokes. If you are not satisfied you can select the tool and add more lines, or erase some with the Eraser tool ![]() .
.
I took my time and drew over every contour I found, especially across the shadow left by the dog. Once I was done, I pressed the button ![]() to preview my work. You can see here how the stroke direction tool corrected the strokes across the shadows:
to preview my work. You can see here how the stroke direction tool corrected the strokes across the shadows:
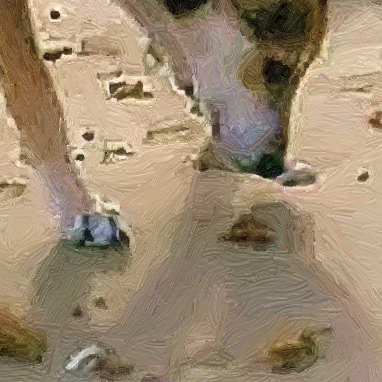
Without Stroke Direction Tool
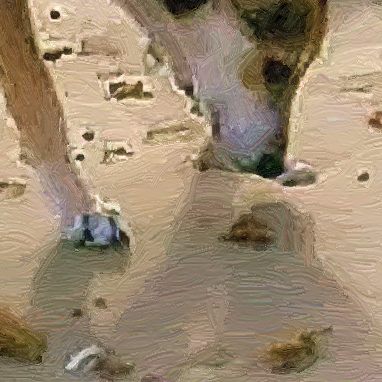
With Stroke Direction Tool
The tool worked great, but still there was an area I wanted to fix – the dog. The paint strokes for the dog’s hair were still irregular, so I went back to the Before tab and used what I had learned to draw strokes over the hair. I kept in mind how a dog’s hair rests on its body, the manner in which it flows.
I had at last assigned all the strokes I found necessary and pressed the button ![]() to process the photo. I was satisfied enough with the result to press the button
to process the photo. I was satisfied enough with the result to press the button ![]() and save the image in my photo editor.
and save the image in my photo editor.
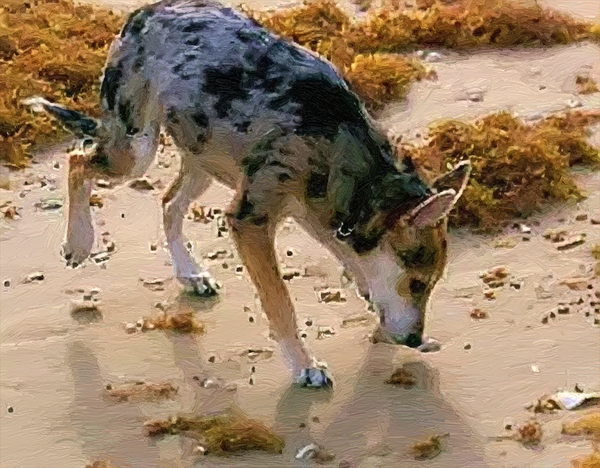
Here is the result. Click on the image to see a larger version with the strokes more clearly visible."
